Batch Processing
In this section we will learn how to batch process data. We will create a ParaView state file, and write a python batch script, with which we can reproduce the same screenshot for multiple different URIs.
Creation of ParaView state file
In this subsection we continue from the the SOLPS example discussed earlier in the training. We will add a text source, showing the currently loaded pulse number, and store this state as a ParaView state file.
First, repeat the steps shown in the SOLPS example. Alternatively, you can download the
state filefor the SOLPS example case and proceed with the next step.We want to show the pulse number in the image, so we will add a text source to the image, this can be found under Sources > Annotation > Text. In the text field, enter
Pulse: 123364, and pressApply. You will now see your text in the top left corner of the RenderView.We will now save the ParaView state, by going to File > Save State.... Choose a file name for this state and a directory to store it. Ensure you save the state using the
.pvsmfile format. In this example, we will store it assolps.pvsm.Now that you have a ParaView state file, you can try to load it back into ParaView. First we must reset the current ParaView session, go to Edit > Reset Session. This will reset ParaView and discard the current state. In the pop-up window, press Yes to confirm.
Load the ParaView state file that you stored in the previous step, by going to File > Load State and selecting the state file. If it loads the dataset, views and colorings, this means that the state file is working correctly, and we can use it for creating our batch script.
Creation of Batch Script
In this subsection we will create a python batch script which will load the previously created ParaView state. It will loop over multiple pulse numbers, update the URI of the IMAS-ParaView plugin, and update the pulse number in the text source.
An example of the python batch script is provided in the code block below. Copy it and store it in the same directory as the ParaView state file you created earlier. Alternatively, you can provide a path in the
LoadStatecall, and point it where the state file is stored.
from paraview.simple import GetLayout, GetSources, LoadState, SaveScreenshot

LoadState("solps.pvsm")

# Repeat for the pulses 123362, 123363, 123364
for pulse in range(123362, 123365):
    uri = f"imas:hdf5?path=/work/imas/shared/imasdb/ITER_SCENARIOS/3/{pulse}/1"

    # Repeat for each IMAS-ParaView source
    for source in GetSources().values():
        if hasattr(source, "EnterURI"):
            # Update the entered URI in the GGD reader source
            source.EnterURI = uri

        elif hasattr(source, "Text"):
            # Update the text field in the text source
            source.Text = f"Pulse: {pulse}"

    # Create the screenshot and pass the entire layout
    print(f"Creating image for {uri}")
    SaveScreenshot(f"screenshot-{pulse}.png", GetLayout())
Running the Batch Script
The script can be run using the
pvbatch solps_script.py. After the script is finished, you should seescreenshot-123362.png,screenshot-123363.png, andscreenshot-123364.pngappear in directory in which you ran the script.
SOLPS example case for pulse 123362.
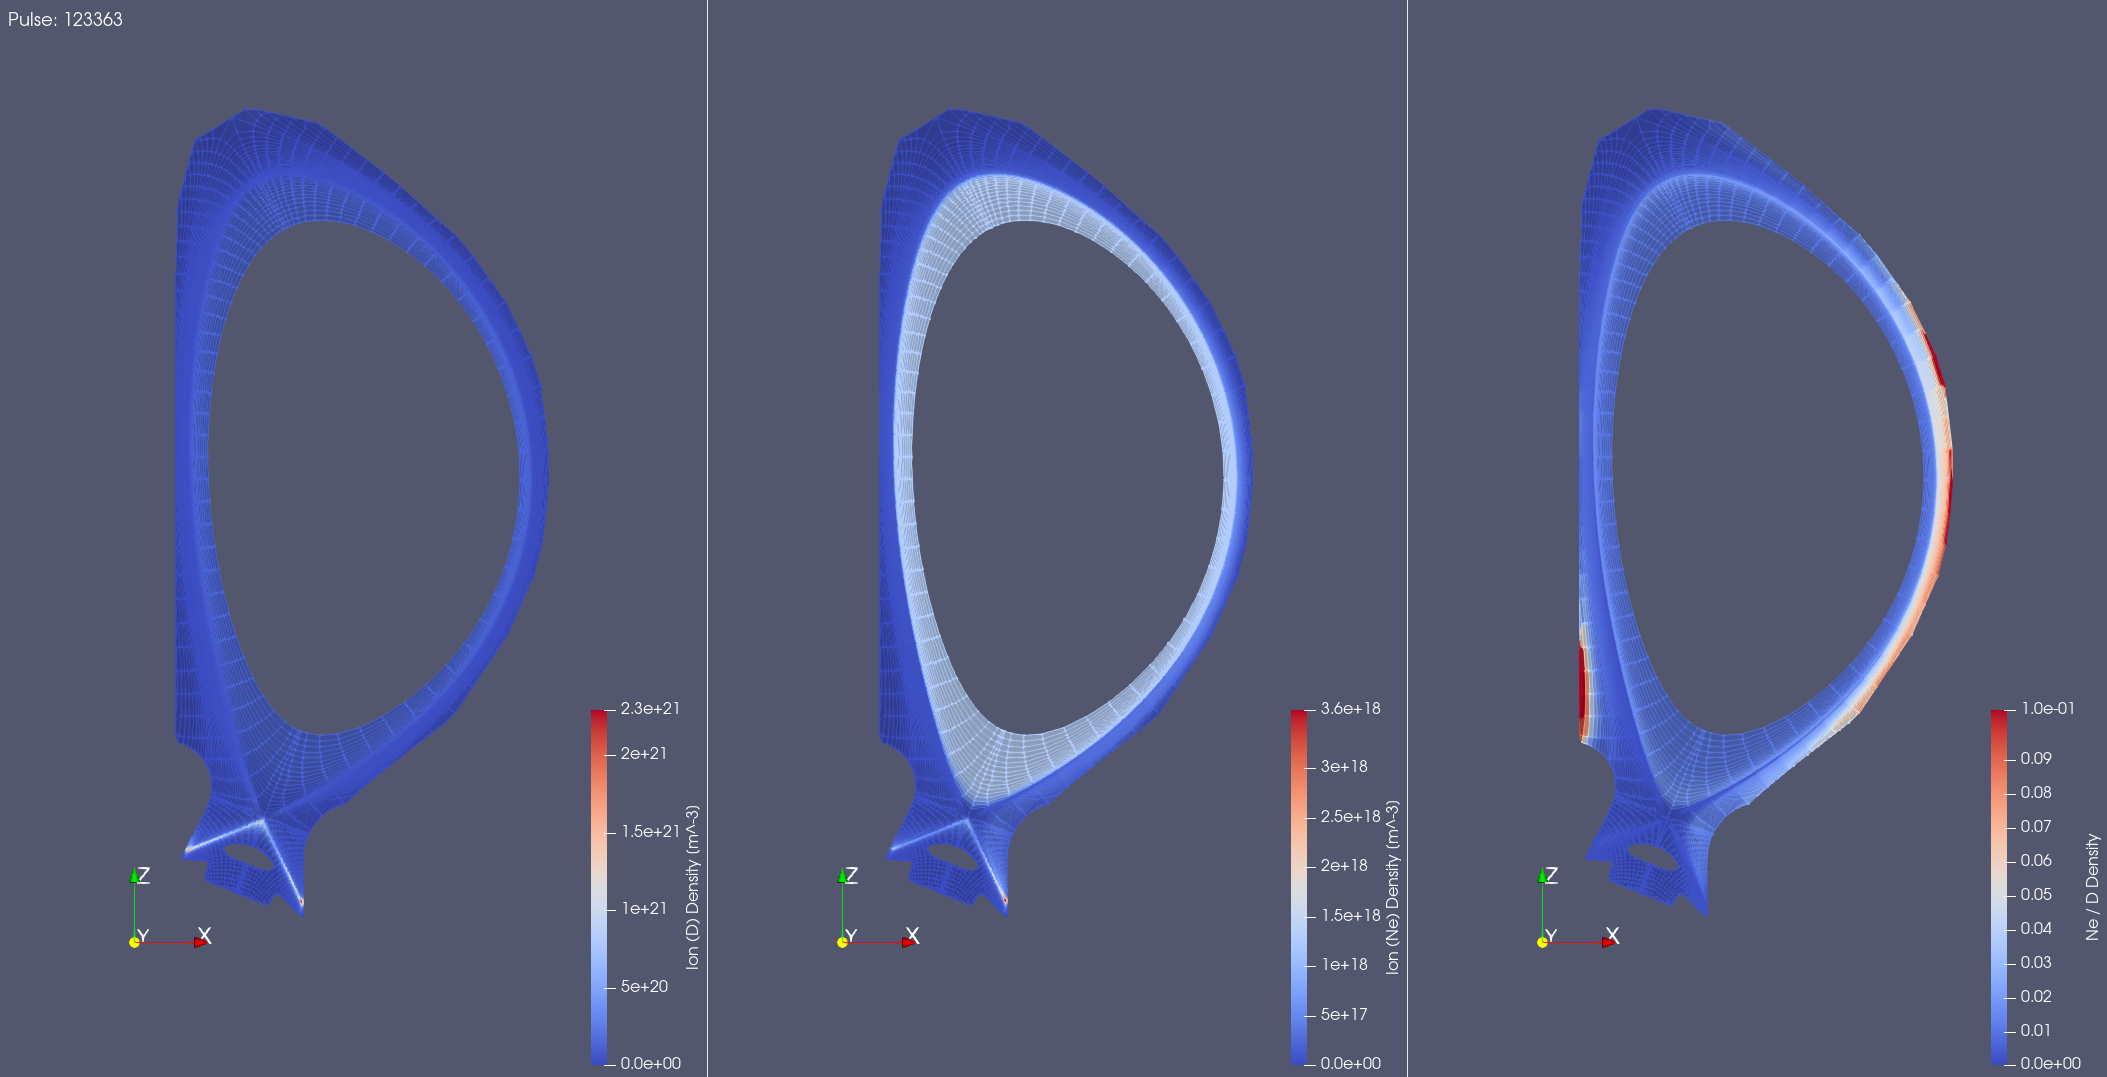
SOLPS example case for pulse 123363.
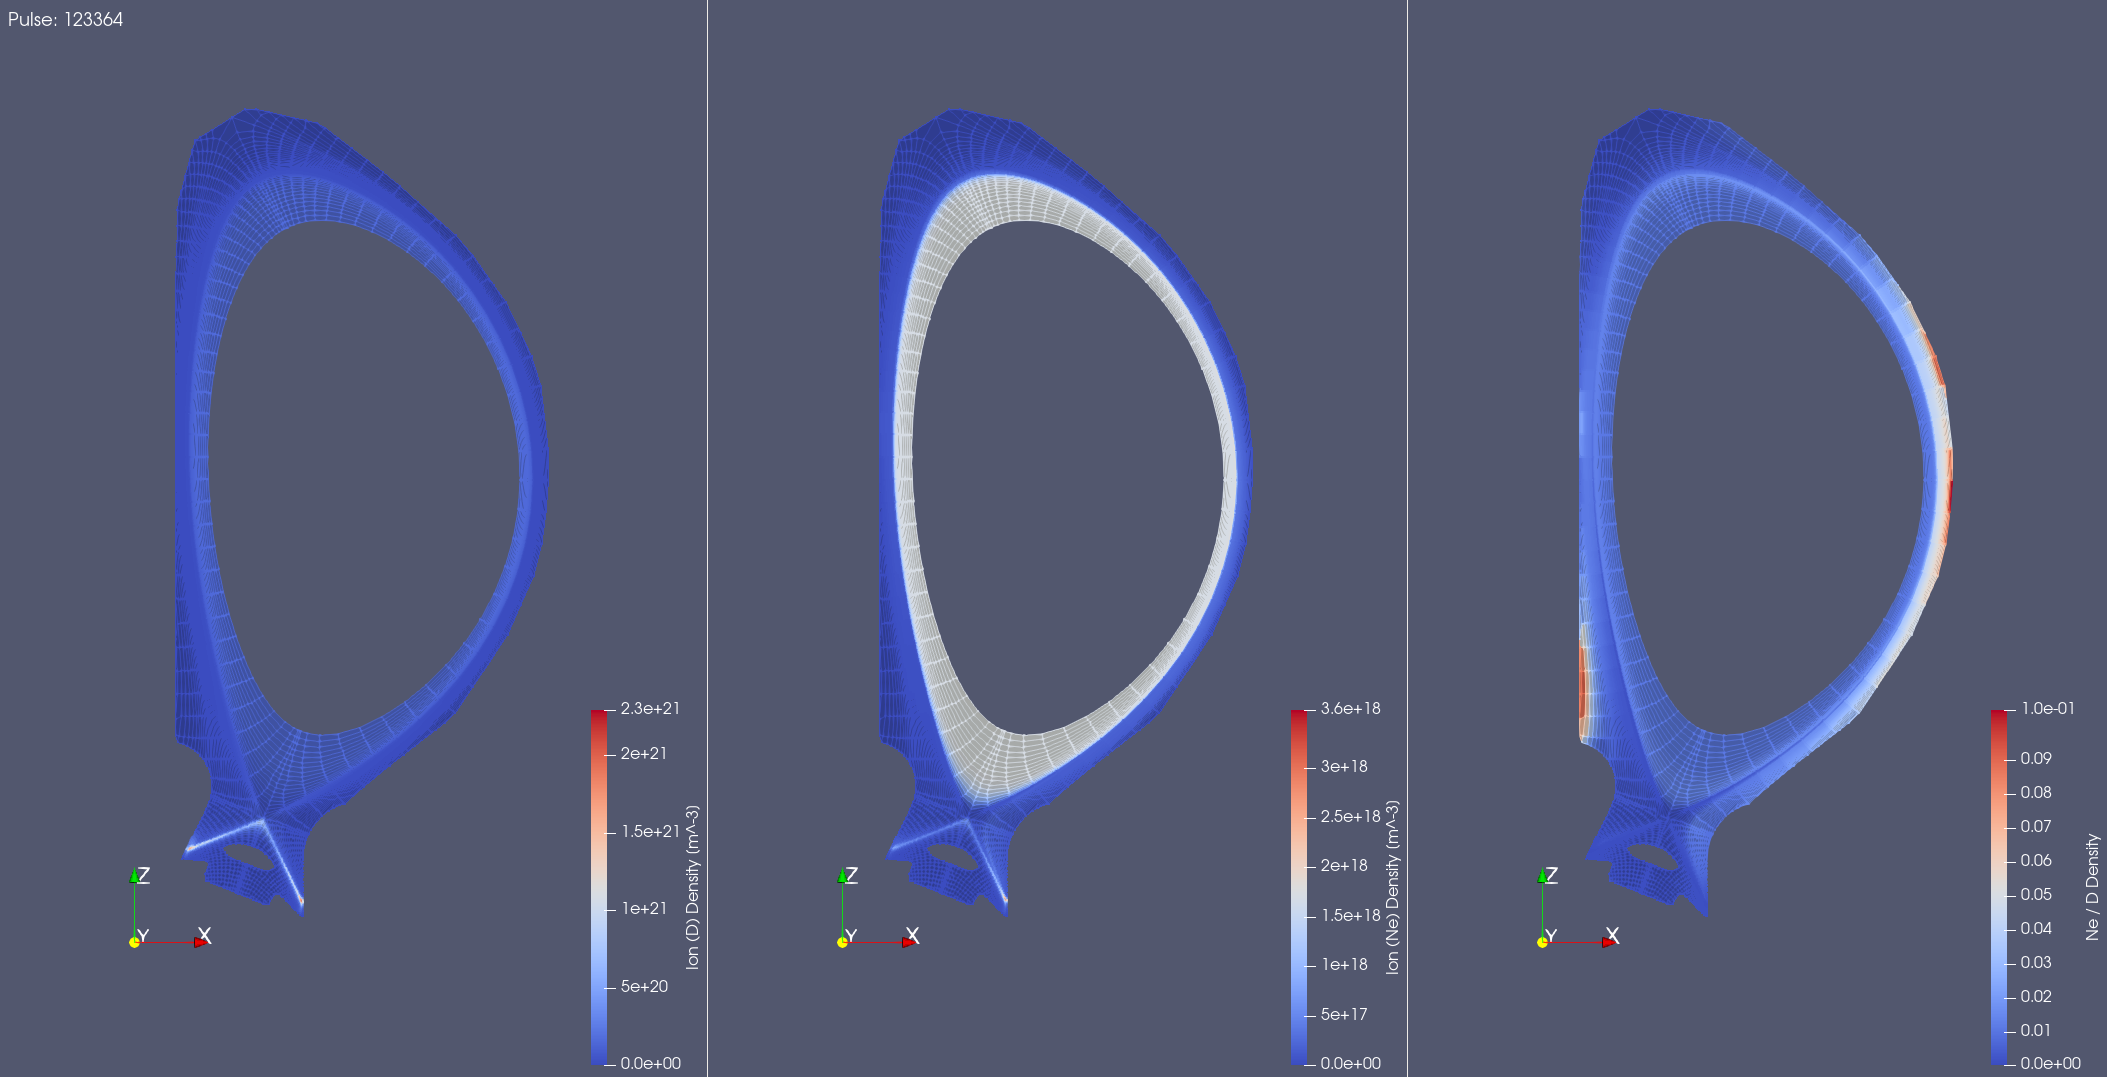
SOLPS example case for pulse 123364.
Alternatively, if you are working with a large data set in an HPC environment or you want to load many different URIs, it is possible to submit this script to a batch system. For example, using SLURM:
srun -p gen10_debug -n1 --pty pvbatch --no-mpi solps_script.py